Looking for a guide on how to import your MXF recordings to FCP X for a nice editing which shot from a Panasonic AJ-hpx3700 camcorder? Here is one for you!
‘Seeking help! Last week, as a professional videographer works for television, I shot the whole recording progress of the Reality Show with my Panasonic AJ-HPX3700 camcorder. At present, I need to make them shorter for removing some advertisements to make it as a wonderful show to our audience with Final Cut Pro X. I’m not familiar with this editing app so the screen always shows me the ‘Error’ message when I importing my recordings. What’s wrong there?’
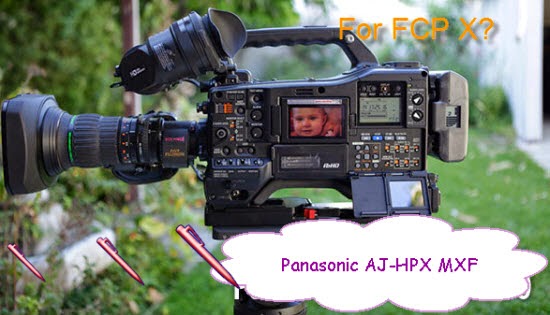
As the high-end HD workhorse, Panasonic AJ-HPX3700 offers a native 1920x1080 imager, including 10-bit, 4:2:2 full-raster recording with Panasonic's new codec, AVC-Intra 100, as well as Dual link RGB 4:4:4 output. This camera is excellent for green screen shoots, feature films, television episodes and commercials. However the output recordings are encoded by ‘MXF’, so some troubles we will meet there.
MXF is a "container" or "wrapper" format which supports a number of different streams of coded "essence", encoded in any of a variety of video and audio compression formats, together with a metadata wrapper which describes the material contained within the MXF file. So you must not know yet we cannot directly let our MXF files in FCP X except for converting them to the limited ProRes codec, right? For other NELs? Such as Premiere Pro, After Effects, etc? You may read there!
See Also: Top 4 Best MXF Converter for Mac Review
There will be no worries if you search online and found this MXF assistant called Pavtube MXF to FCP X Converter for Mac, (Windows version?). Such an easy operation converting program which has the concise interface, faster speed and various output for your selection. What’s the most important point is that this guy has such a good reputation and review online. Do you wanna a try?
From Panasonic MXF to Apple ProRes codec, let’s see how to make this conversion goes well:
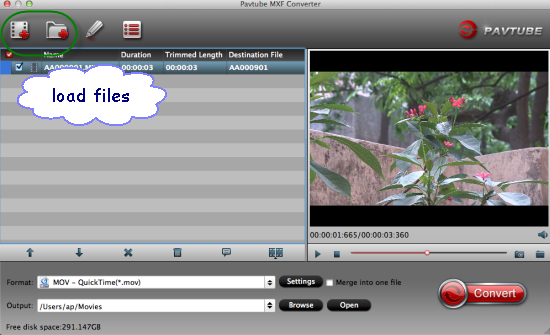
Step 1.Add our Panasonic MXF files to this converting program with two effective ways.
A: Connect your Panasonic MXF camcorder to iMac with USB2.0 cable or use card reader to transfer the P2 AVC-Intra. Mxf files to Apple hard drive disk. Then drag them into the program directly.
B: Click the ‘Add files’ button on the left corner, we can easily load our MXF files there. Batch conversion can be supported well here.
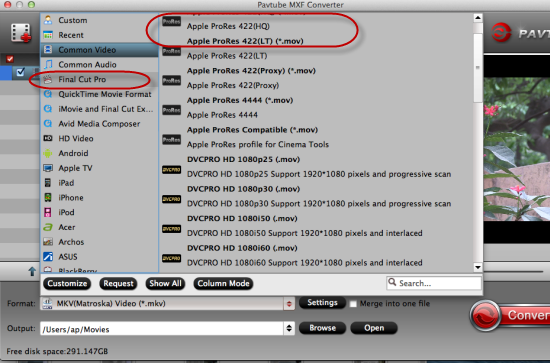
Step 2.Click the ‘Format’ button beside the preview window, drop down the output list, move mouse cursor to ‘Final Cut Pro>>Apple ProRes Codec 422 (*.mov)’ as the best one. Several other ProRes codec types you should not miss too. Then click the ‘Settings’ button, let’s adjust the video size as ‘1920*1080’ as output video size. This is available for ProRes MOV as you know.
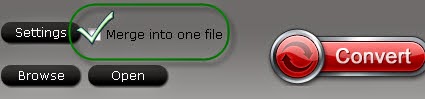
Tips: (Optional)Merge your Panasonic AJ-HPX3700 MXF video clips.
On the main interface, could you find the icon called ‘Merge into one file’ there? With a lot of video clips? Why not combine them into a single one?
Finally, the red big button ‘Convert’ there is waiting for our selection to make this conversion work end. Cause you are the first time to work with FCP X, we can also offer you the transferring steps for FCP X here. Just enjoy your editing in FCP X! Good luck!
More: